DIY Tutorial - Make a Lampshade with Stick- It® Metallic Lining
- Apr 21
- 5 min read
Add a touch of luxury to your home with a stunning gold brushed lampshade. In this step-by-step guide, you’ll learn how to create your own from scratch using Stick-It® Metallic Self-Adhesive materials.
Perfect for beginners and experienced makers alike, our Stick-It® Metallics range offers everything from high-shine mirror finishes to soft brushed and textured effects—so you can achieve the exact look you want.
Read on to get started.

Working with Stick-It® Metallics
Unlike our Pre-Cut Panels our Stick-It® Metallic Self-Adhesive Lampshade Materials are sold by the roll - 2 metre, 5 metre, 10 metre or 25 metre - therefore you'll need to cut your lampshade panel, as shown in Step 1.
Using the chart below, find the required length that corresponds to the diameter of your lampshade ring set. You'll also find the standard lampshade depths of our pre-cut panels and by reducing or increasing the depth measurement, you can create a deep or shallow lampshade, to suit your space.
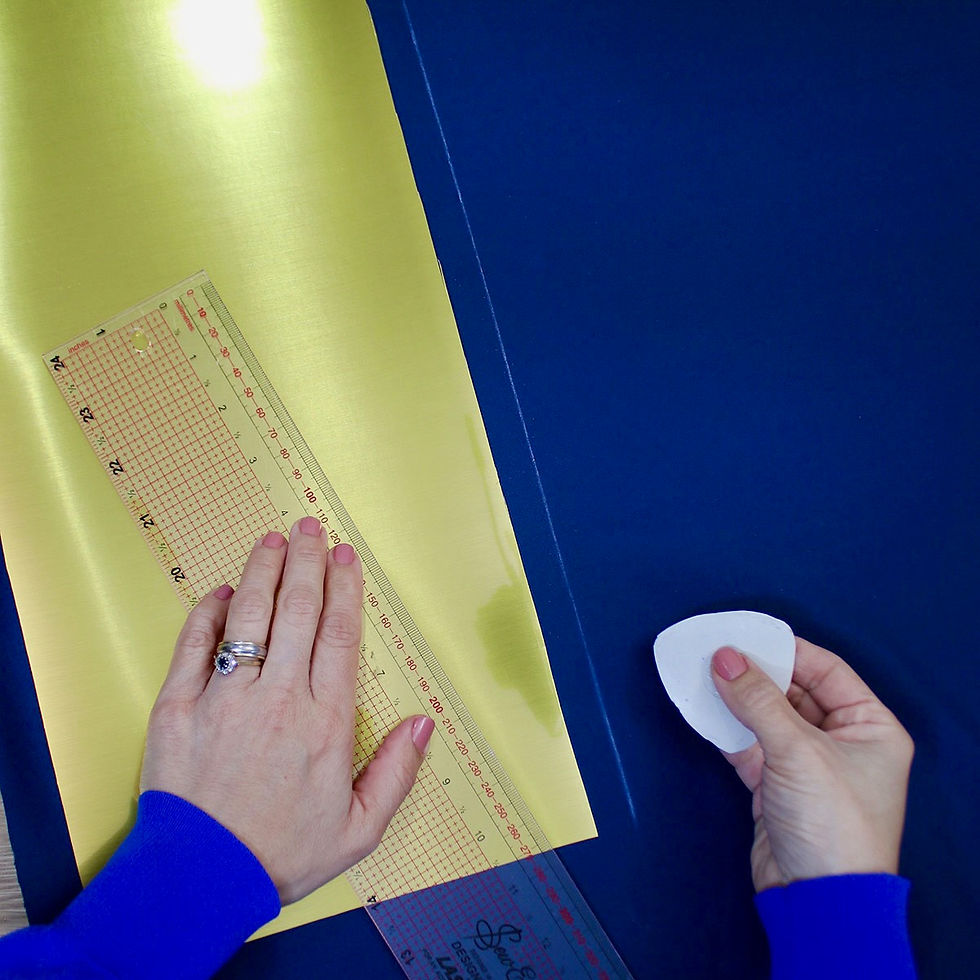
To ensure accurate measuring and cutting, each of our Stick-It® Metallic Lampshade Materials features a transparent release liner with a printed grid.

Explore our Metallic Stick-It® Range
Choose from our range of eye catching Stick-It® Metallics, all of which will add an eye-catching glow to your hand made lampshade. Find out more about each type in our Lampshade Inspiration - Stick It Metallic Lampshade Making PVC blog post.


Materials you will need
Before you get started you will need
Covering of your choice
Clean flat working area
Sharp Knife or Household Scissors
Pencil, fabric marker or tailor’s chalk
Tape measure or ruler
Soft Seam Roller (optional)
How to make a Stick It® Metallic Lined Lampshade
1. Cut your Stick It® Gold Brushed Self Adhesive Lampshade Material to the size required for the diameter of your ring set (see measurements).

2. Place face down and position the Stick-It panel on top.
Pro Tip: Iron your covering first to remove any creases

3. When you’re happy with placement peel back some of the release paper and stick down on your covering.
Pro Tip: Use a weight, to stop the panel from moving, but ensure it's a weight that will not scratch the metallic surface.

4. Smooth out from the middle and press the adhesive into the fabric firmly until all the release paper is removed. Inspected your panel for creases.
Pro Tip: If you feel a crease, peel back and try again

5. Measure, from the top and bottom edge between 1.5 and 2cm and mark using tailors chalk or a pencil. This will give you the extra fabric needed to tuck around the rings for a neat finish.
You can apply our Self Adhesive PVC (Rolled Edge) Strip to the top and bottom edge, instead of measuring.
Pro Tip: 15mm is our suggested fabric margin. For thicker fabrics, we suggest a wider fabric margin of 2cm plus.
6. Cut off surplus covering by cutting along the marked lines. At the short edges, cut the fabric flush with the panel.

7. Apply double-sided Tesa tape or SeamStick Tape (for a strong bond) to a short edge of the panel. Remove the release paper.

8. Apply the double-sided Tesa tape to the centre of the rings. Apply evenly and avoid creases.

9. Press the tape down evenly and firmly onto the ring then remove the release paper.

10. Repeat steps 8 and 9 for the final ring and you now have two tape covered rings to fix to the panel.

11. Remove the red tape backing on the rings.

12. Place the rings on the panel edge (not on your covering) and start to roll towards the taped seam edge (Step 7). Keep in line with the panel edge at all times. If you go out of line, go back and correct. As the lampshade starts to take shape, it will be easier to keep in line.

13. Now turn the lampshade around so you can roll towards you, keeping in line with the edge.
Pro Tip: Keep the rings in contact with the panel edge. Don't press the rings down hard onto the panel, as this makes it more difficult for you to tuck the covering behind when finishing

14. Remove the backing of the tape along the seam and overlap the short edges.

15. When you reach to the seam (the overlap), press the tape together from the centre out. The seam is now closed, do not apply any pressure here or you can dent the lampshade.

16. Place the lampshade with the seam on a hard surface and apply firm pressure, pressing the tape down.
Pro Tip: We suggested using a Seam Roller and a soft cloth to protect the Metallic Stick- It®

16. Cut away an approximate 1x1 centimetre square from the inside seam fabric, to reduce any fabric bulk.

17. Snip the covering in line with the struts on the utility ring so that the covering can be folded under the rings. Pinch the fabric, pull taut and fold down onto the sticky rings.

18. Use a Rolled Edge Tool to push the fabric behind the rings, finishing by pushing under the tabs. Push the tool between the gap and swipe around the circumference until you’re happy with the finish.
Pro Tip: Be gentle when using the Rolled Edge Tool against the metallic surface, to avoid scratching the metallic surface.

Enjoy your professionally finished hand made metallic lampshade!

More Tips for Making Metallic Lampshades
Inspired to make a metallic lined lampshade? Read handy tips from our professional makers in our Tips for Making Metallic Lampshades blog post.


#metalliclampshade #metalliclampshademakingPVC #metalliclampshadeinner #copperlampshades #silverlampshades #goldlampshades #StickItBrushedMetal #StickItMetallicEmboss #StickItMirrorMetallic #StickItSpanishSatin #lampshademakingkits #professionallampshades #bespokeshades #uniqueshades #lampshademaker #handmadeshades #lampshademaker #lampshadeinspiration


Comments