New Product - How to make a Fabric Scalloped Edge Lampshade
- Mar 28, 2024
- 5 min read
Updated: May 7, 2024
Hit the Scalloped Lampshade trend head-on with our NEW Scalloped Edge Self Adhesive Lampshade Panel!
Featuring a gentle scalloped edge and available in four sizes, make this contemporary shade with your own choice of paper, wallpaper, or fabric with a bias binding edge. Our Scalloped Edge Self Adhesive Lampshade Panel's classic empire shape is cleverly supported by just one duplex ring at the top of the shade, giving it a light and airy feel.
To make our new Scalloped Edge Self Adhesive Lampshade Panel in fabric, with a bias binding edge, simply follow our step-by-step tutorial below. Pick from our range of panels sizes and duplex rings to make either a small (12.5cm), medium (15cm), large (20cm) or Candle Clip Scalloped Edge Lampshade. We can’t wait to see what eye-catching fabric and bias binding combinations you come up with!

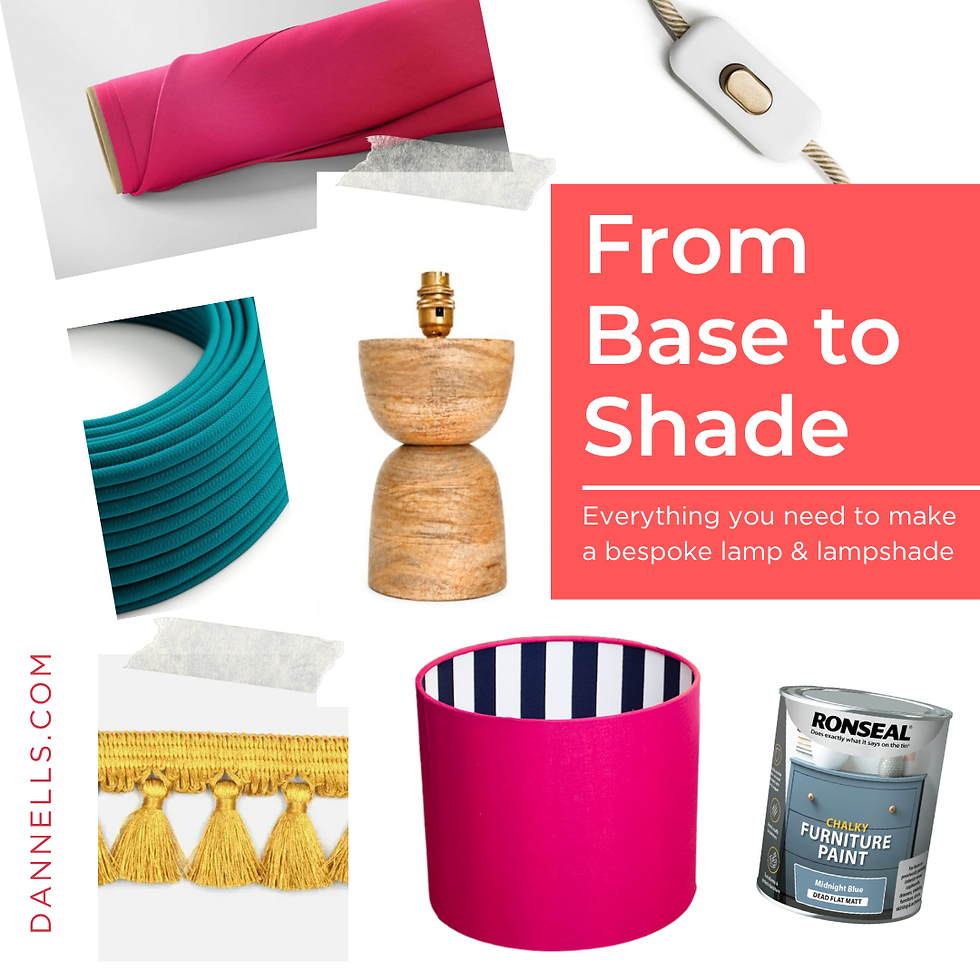
What’s you'll need to make a fabric Scalloped Edge Lampshade
1 x Scalloped Edged Self-Adhesive Lampshade PVC Panel - choose from 12.5cm, 15cm or 20cm top ring diameter or a Candle Clip panel
1 x Duplex Ring, either 12.5cm, 15cm or 20cm or a Candle Clip Ring
1 x Rolled Edge Tool or old loyalty card
Covering of your choice - wallpaper or paper (for size, see table below)
Scissors for cutting tape
Pencil
Shade Carrier or Spider Fitting (to fit Duplex Ring)
Seam Roller - optional
Craft knife - optional
Clean, flat working surface


Choosing A Covering
Due to the curved shape of the conical lampshade, plain or non-directional all-over prints work best with this lampshade style and it's worth noting that linear patterns will not remain straight. To test your fabric, masking tape your panel seam together and wrap your fabric around in advance of adhering to the panel. Check out our range of full range of plain fabrics, ranging from natural linens to colour popping velvets.
Before you start
Ensure your covering is ironed and crease-free. Fold your bias binding edge to edge and gently press either with your fingers or an iron.
Either watch our YouTube Short or follow the step by steps on how to make a Scalloped Edge Lampshade.

How to make your fabric Scalloped Edge Lampshade
1. Cut down your covering to a workable size. Place right side down and position the panel, backing paper side down on top.

2. When you’re happy with placement peel back approximately 5 -10cm of the release paper and stick on to your covering.
Tip: Use a weight such as tin to stop the panel from moving.

3. Smoothing out from the middle, press the adhesive firmly onto the fabric pulling away until all the release paper is removed.
Tip: Check the fabric for creases. If you find one peel the panel back and smooth it down again.

4. Cut away the surplus covering, with scissors, or a craft knife, using the edge of the panel as your guide.
Tip: To cut the scallops, cut the fabric between scallops and/or pull the fabric tight with one hand while cutting with the other.


5. Snap back the creased edge also known as the kiss cut to break the edge of the PVC.

6. Carefully, to avoid fraying, remove the kiss cut strip, which will reveal a margin of your covering.

7. Apply 9mm double-sided tape to one side of the PVC panel, which will become the seam.
Tip: Lay the tapes next to each other. The thinner tape is 6mm.

8. Using 1cm to 2cm pieces of 6mm double-sided tape, position the tape on the inside of the panel, following the curve of the scallop against the panel edge. The tape must not extend more than 6mm away from the edge at any point.

9. Repeat on the fabric side of the lampshade.

10. Apply 9mm double-sided tape to the largest aperture of the duplex ring. Apply evenly to avoid creases.

11. Press the tape onto the ring evenly and firmly. Remove the release paper.

12. Remove the release paper from the tape on the seam.

13. Place the ring on the edge of the panel without the scallops. Start to roll the ring towards the seam edge.
Tip: Keep the ring in line with the PVC edge throughout. If you deviate, roll back and correct. Tilting the ring towards the top of the shade will help.

14. At the seam, ensure the two panels overlap each other to create a continuous scallop pattern.

15. Place the lampshade on a hard surface, with the seam down and apply pressure with your hand to close. If you have a seam roller this can help secure the seam.


16. Snip the covering in line with the struts on the ring, with the tips of the scissors, to allow the fabric to be folded behind.

17. At the top, push the fabric towards the inside of the lampshade and adhere it to the rings.

18. Use the rolled edge tool, to push the fabric behind the rings. Push the tool into the gap and swipe round until all the fabric is tucked behind.

19. From the inside seam, on the fabric side, peel away the tape on the first scallop.

20. Position the end of bias binding where the seam edges meet. Stick down in position, ensuring the fold sits on the edge of the scallop. Continue along the scalloped edge.
Tip: If the bias binding feels tight as you apply it, fold it towards you so it follows the curves easily.


21. On reaching the seam, extend the bias binding over the seam by 1.5cm and trim.

22. Fold the extended 1.5cm underneath, to create a neat edge.

23. Place a short length of 6mm tape on top of the bias binding, on the inside of the seam.

24. Stick the end of the binding in place using the tape.

25. On the inside of the shade remove the tape on the first scallop on the inside of the seam.

26. Gently push the bias binding down onto the tape. Work one scallop at a time, checking the front of the shade to ensure the tape is not being pulled.

27. To complete the shade, place a small piece of 6mm double-sided tape on the inside binding and stick the folded inside edge into place.


28. Voila - You've made your very own Scalloped Edge Fabric Lampshade!

Fabric or Paper?
Our Scalloped Edge Lampshade Making Panels can be made in a wide range of coverings, and to make this in fabric we recommend this project for adventurous beginners or intermediate lampshade makers. If you would like to a make a more straight forward Scalloped Edge Lampshade, hop over to our blog post on how to make this in paper LINK.


#scallopedlampshade #scallopshade #DIYScallopedlampshade #scallopedlampshadekit #newproduct #interiortrend #scallops #biastape #biasbinding #professionalskills #lampshademaking #lampshademaker #DIYtutorial #stepbystep #interiordesign #lampshademakingskills #DIYshadetutorial #lampshadehacks #hacks #tutorial #tipsandtricks #lampshademakingkits #handmadeshade #uniquelampshadedesign #DIYlampshade #lampshadeknowhow #professionalshades #shademaking #uniquelampshadedesign #makerscommunity #craftkits #lampshademaking #lampshademaker


Comments