NEW Product - DIY Table and Floor Lamp Bases
- Feb 6, 2023
- 4 min read
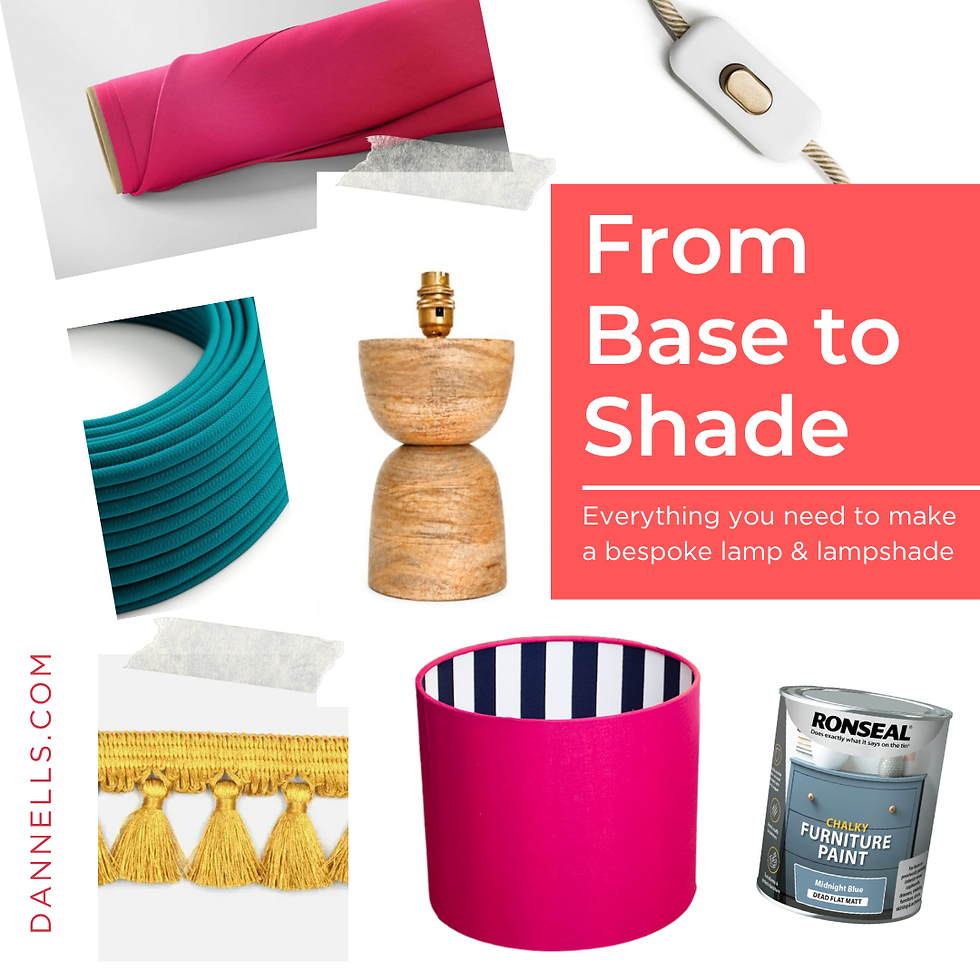
NEW product alert! We’re excited to announce our NEW Lamp Base Making Kits, which are as easy to tailor to your interior style, as they are to make!
Available as both a Table Lamp Base Kit, standing at 35cm high and two Floor Lamp Base Kits, both over a metre high, each Lamp Base Kit has been cleverly engineered using the same principles and professional materials as our popular Lampshade Making Kits. Simply pick a patterned or plain fabric or paper, buy the accompanying electrical fitting and make an exclusive and striking lamp base that can’t be found anywhere else!
Read on for our step-by-step instructions to make up a Lamp Base Kit, including how to fit your electrical requirements.

Lamp Base and Lampshade Sizes
Perfect for desks and sideboards, our Table Lamp Base Kit works best with a 35cm diameter lampshade, balancing perfectly with the base's 35cm height, whereas either of our 100cm or 130cm high Floor Lamp Base Kits make the ideal modern replacement for a standard lamp, when complimented by a 45cm diameter shade or larger. Whichever style you choose, it’s guaranteed to be a creative and bespoke way of lighting your home.


How to make a DIY Lamp Base or Floor Lamp Base Kit
1. Cut down your covering to a workable size. Place and position the self-adhesive panel, face down on top of the reverse of the fabric.
TIP: Iron covering to remove any creases. Reverse roll the panel with care to reduce curl (we reverse roll ours and place it in a mug)

2. When you’re happy with the placement, peel back approximately 5 cm of the release paper and stick onto your covering.
TIP: Particularly if you're making a larger Floor Lamp Base, use a weight i.e. a tin to stop the panel from moving.

3. Smooth out from the middle and press the adhesive into the fabric firmly until all the release paper is removed.


4. After you have inspected your panel for creases, the panel is now ready for trimming
TIP: If you feel a crease, peel back the panel and remedy.

5. Cut off the surplus covering by cutting with scissors or a sharp knife along the edges of the panel.

6. Use a sharp knife to cut around the hole that will be used to feed the lamp holder and cable through.
TIP: Cut a cross with scissors or a craft knife through the centre of the fabric in the hole, then cut away each section individually.


7. Snap back the creased edges (kiss cut) around the panel to break the edge of the PVC. Carefully, to avoid fraying, remove the broken strips of PVC to leave your covering’s edge.


8. Apply double-sided tape to one side of the PVC edge of the panel, which will be used to stick the seam. Remove the release paper and your panel is now ready for attaching to the frame.


9. Apply double-sided tape to both of the rings. Press down the tape evenly and firmly.


10. Place the rings on the edge of the PVC and start to roll towards the seam edge.
TIP: Ask someone to help you hold and roll the rings on bigger models. Keep rings in line with the PVC edge at all times (not on your covering.) If you move off the edge, go back and correct.


12. When you get to the seam (the overlap) press the tape together from the centre out.

13. Turn over so the seam is now on a hard surface and apply firm pressure pressing along the seam with your hand. For best results use a seam roller to apply the pressure, rolling up and down the seam.


14. Pinch the fabric, pull it taut and fold it down onto the sticky rings.

15. Use the finishing tool to push the fabric behind the ring.
TIP: Push the tool in the gap and swipe around the circumference until you’re happy with the finish.

16. The base is now completed and can now be fitted with the electrics.
How to fit the Electrical Components to the Lamp Base
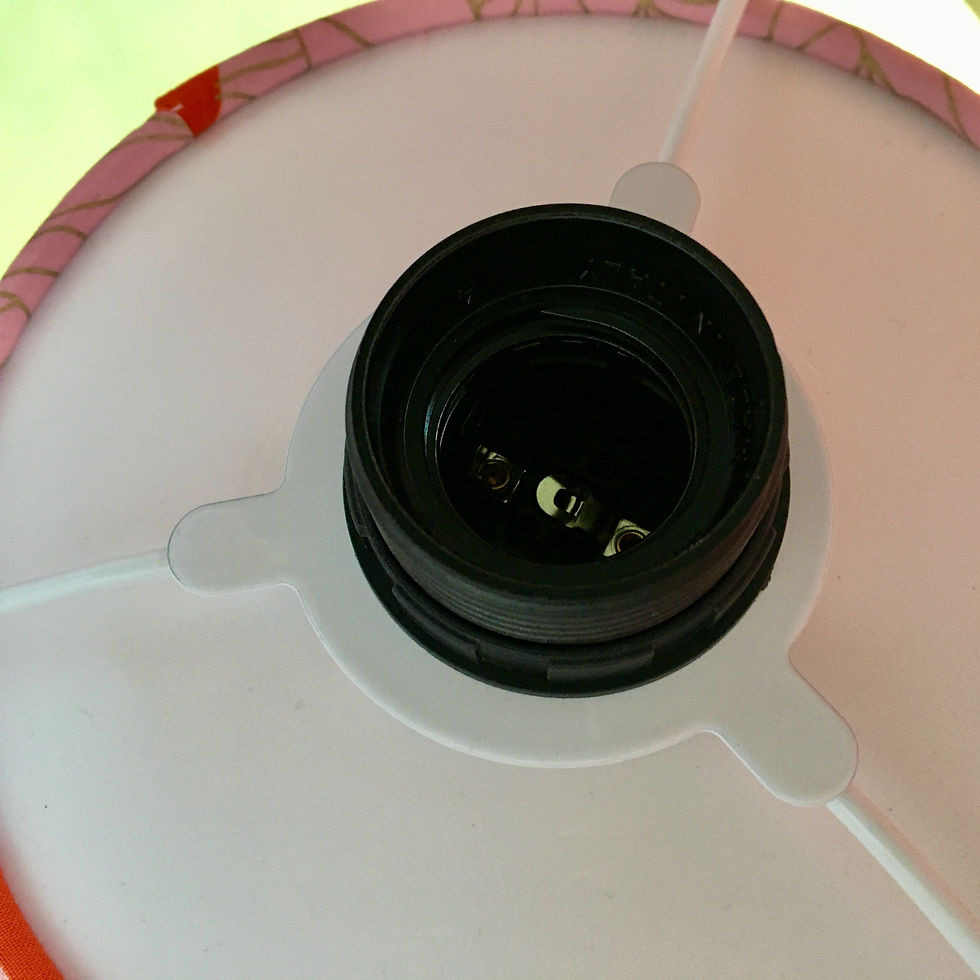
1. Screw a shade ring to go behind the lamp holder, with the lipped edge towards the plug.


2. Insert the lamp holder through the hole.

3. Insert the shade ring into the hole to finish. You may want to use some additional glue to fix the ring in place permanently, if required.

4. Screw a shade ring onto the lamp holder, with the lipped edge facing up.

5. Flex and push the lamp holder disc through the bottom of the lamp base. Again, you may want to use some additional glue to fix the disc in place permanently, if required.

6. Push to the top end of the lamp base.

7. Insert the lamp holder through the hole in the disc.

8. Place the lampshade utility fitting over the lamp holder.

9. Place the final shade ring on top, with the lipped edge facing down.

10. Simply add a bulb, plug in and switch on.


Comments